How to Pluck a Pheasant

The dry method simply means plucking the feathers out normally. It’s time-consuming and the flight feathers, in particular, can be a challenge to pull but I still find it the best way.
The most important thing is that the birds are well hung. This relaxes the follicles as the skin shrinks back from the quills making them come out easier.
I like to pluck sitting on a chair with a double folded towel over my lap and a carrier bag over my knees. The towel is because once the feathers are removed the bird will feel very cold and I don’t like the feel of the cold dead skin on my lap so the towel creates a barrier. I pluck straight into the carrier bag to reduce mess as I normally pluck indoors. Plucking outside is OK provided it is not windy as the feathers will go everywhere if it is. It will take about an hour to pluck a pheasant, maybe longer if it is your first. So give yourself plenty of time.
 |
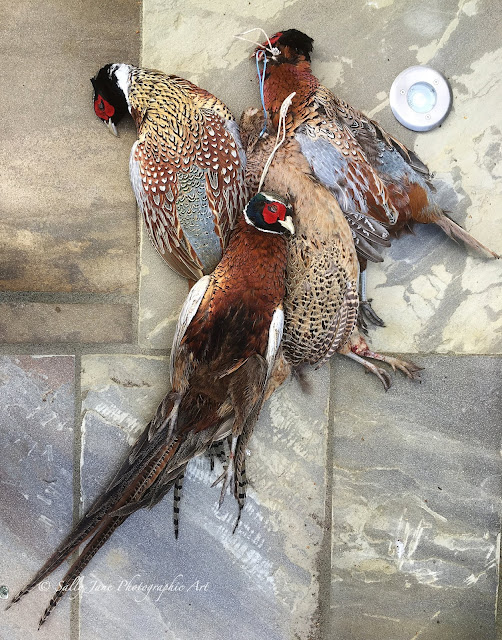
| I prefer to lay the bird on my lap and pluck straight into a bag. |
Take one feather at a time. If you try and pull too many you will tear the skin. One feather at a time might seem a very daunting task but stick with it, there are other areas where you can be less careful but not here. Pull the feather with a sharp jerk up towards the head making sure you have a good grip as the silky feathers can be slippery. Keep doing this one at a time. If you do get a tear, don’t take the next feather as this will just cause the tear to spread. Instead, take a feather a few rows away and then work back towards the hole. This will limit the spread of the tear. I don’t pluck all the neck out, just from about halfway up as the head will be chopped off. I like to have some of the skin from the neck intact to prevent it tearing down over the breasts when you go to remove the crop.
By now you will have a feel for the difficult feathers. As you work your way down over the breast take particular care not to make any holes. A small one won’t hurt but don’t let any holes spread or the flesh will dry out too much during cooking. You will now find that some feathers come away easily. The ones under the wings and the long feathers over the thighs pluck extremely well and it is possible here to grab a few at a time. Tread carefully though, don’t t too carried away as the skin can still tear.
Once you have plucked the breast, turn it over and pluck down the back. These feathers are not too difficult and a tear here won’t matter as it’s all bone. Pluck the fluffy feathers out from around the bird’s anus, and then it’s time to start on the big feathers. The tail isn’t too bad but will require a strong grip. Just pull them out straight. If it is a cock bird with good tail feathers I will take the best ones and use them for Christmas decorations but otherwise, I will bend them around my fingers to get a better grip when pulling.
Now move onto the wings. The small feathers will come out quite easy but the flight feathers are seriously well attached. These will take a lot of pulling and some people use pliers on them. I haven’t yet had to resource to pliers but instead, I find if I have a really tough one, pulling it back against the way it was growing can break the follicle so that then, when you pull it in the right direction, it comes away easier. Don’t worry too much if the wings look a bit mangled after, there is little to eat on a pheasant wing but keeping them on just makes it easier to truss.
The last thing now to do is to do as far as plucking is concerned, is to remove any fluffy bit or quills from newly emerging feathers. These usually come out very easily but if there is a lot of fluff you can just run over it with a lighted match and they will melt away, but take care not to scorch the skin.
The last thing now to do is to do as far as plucking is concerned, is to remove any fluffy bit or quills from newly emerging feathers. These usually come out very easily but if there is a lot of fluff you can just run over it with a lighted match and they will melt away, but take care not to scorch the skin.
You are all ready now to gut the bird but I’ll explain that in another post.

Comments
Post a Comment